

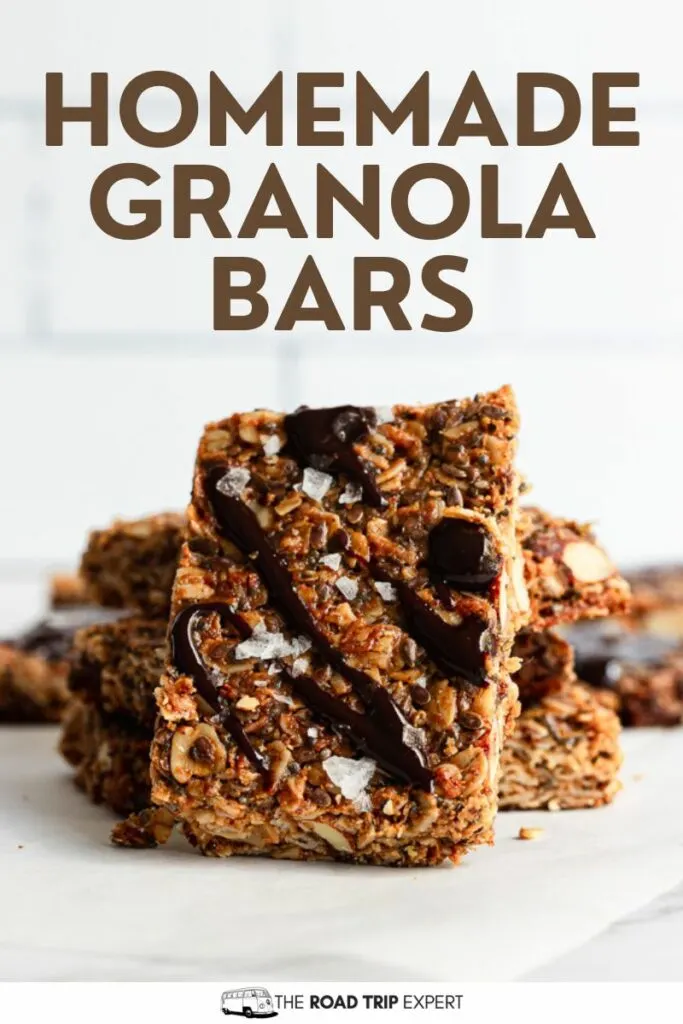
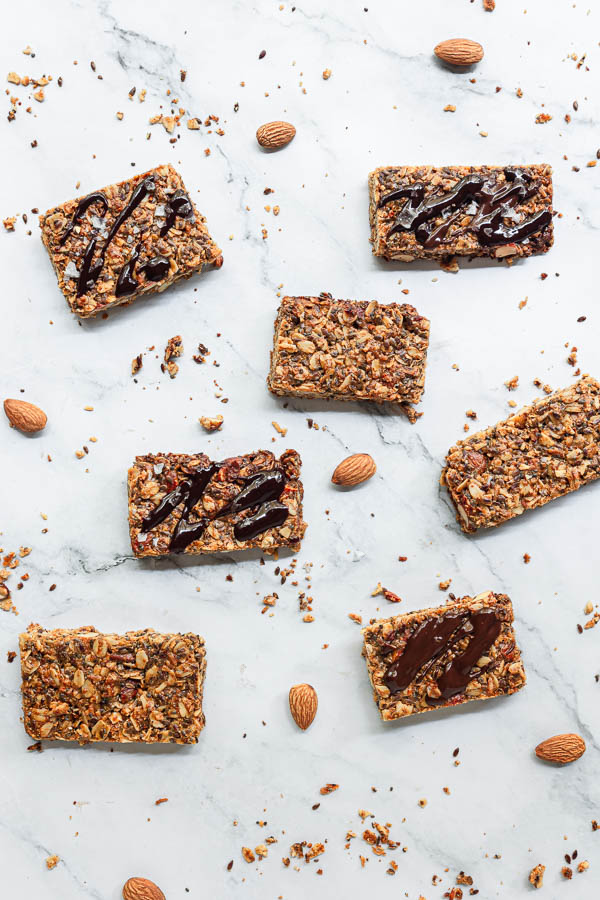
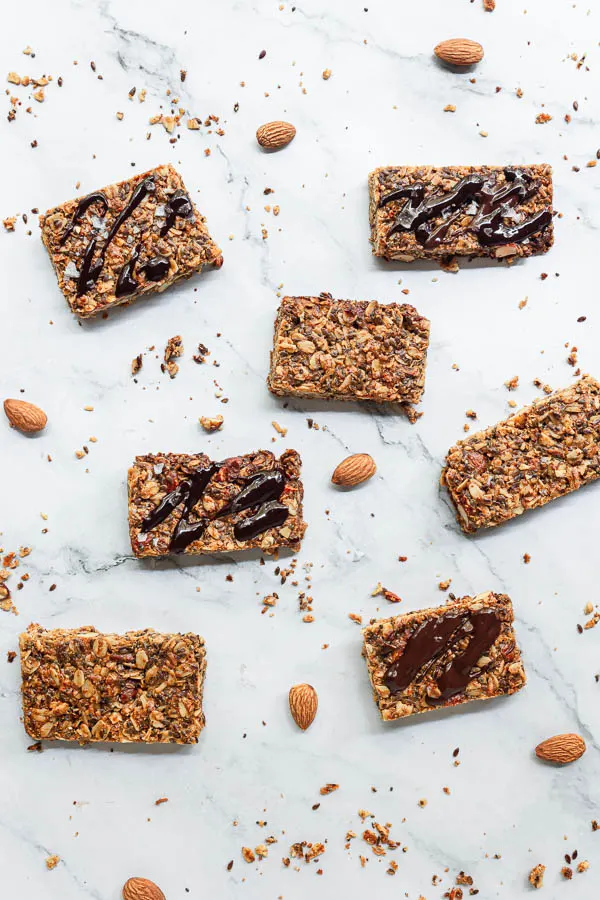
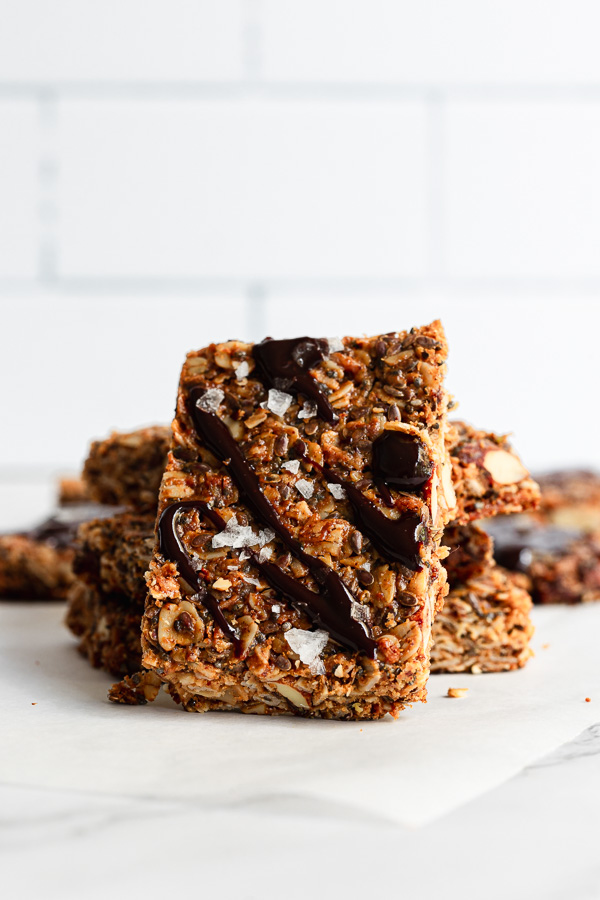
This delicious homemade granola bar recipe is featured in our road trip food ideas article. They’re perfect to take with you on a road trip for breakfast or a snack. They’re bursting with the wholesome goodness of old-fashioned oats, nutrient-rich seeds, and the delightful crunch of almonds. These bars are a harmonious blend of health and taste. The optional chocolate drizzle adds that touch of indulgence, making it a hit among both kids and adults.
Whether you’re hiking, traveling, or just looking for a quick road trip snack, these granola bars offer convenience without compromising on flavor. Let’s delve into crafting these homemade granola bars that are as enjoyable to make as they are to munch on!


Homemade Granola Bars
Recipe Author
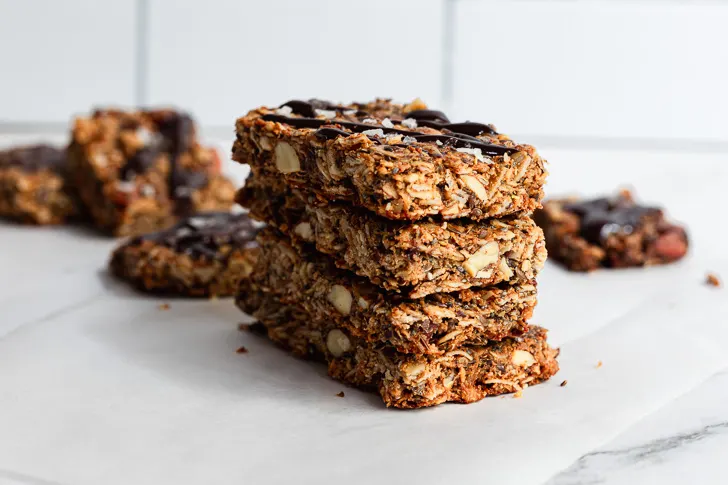
Dive into these wholesome granola bars, crafted from old-fashioned oats, shredded coconut, chia seeds, and crunchy almonds. Sweetened with honey and enriched with almond butter, these bars offer a satisfying snack. For a touch of indulgence, they're drizzled with a rich chocolate layer.
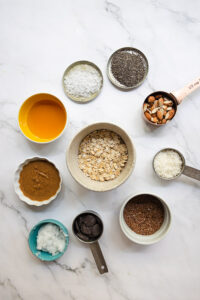
Ingredients
Granola Bars
- 1 cup oats
- ¼ cup shredded coconut
- 1 tbsp chia seeds
- ¼ cup flax seeds
- ⅓ cup almonds
- 2 tbsp coconut oil
- 4 tbsp almond butter
- 4 tbsp honey
Chocolate Drizzle (Optional)
- ⅛ cup chocolate chips
- 1 tsp coconut oil
Instructions
- Start by preheating your oven to 350°F. Line a 9×13-inch baking pan with parchment paper. Meanwhile, chop the almonds into small pieces.

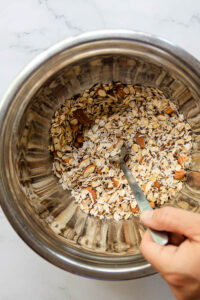
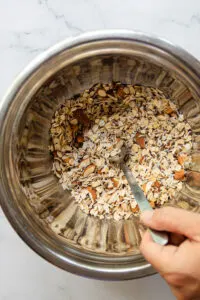
- In a large mixing bowl, bring together the old-fashioned oats, coconut flakes, chia seeds, flax seeds, and the prepared chopped almonds. Mix these thoroughly.
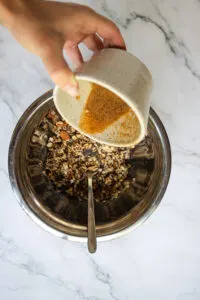
- In a separate bowl, blend the coconut oil, almond butter, and honey (or agave) until smooth.


- Gently pour the wet ingredients over the dry mixture and stir them together using a spatula, ensuring an even mix.

- Transfer the combined mixture to the prepared baking pan. Use a spatula to spread it out uniformly and press it down.


- Position the pan in the oven and bake for 25-30 minutes. The edges should turn a lovely golden color. After baking, remove and let it cool. For a quicker cooling process, place it in the refrigerator or freezer for approximately 30 minutes.
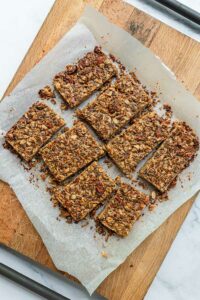
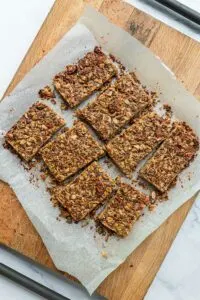
- After the granola cools, cut it into 18 evenly-sized rectangles.
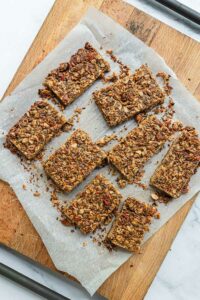

- Melt the mini chocolate chips and coconut oil in the microwave, using 15-second intervals and stirring in between until fully melted. Drizzle this chocolate mixture over your bars. As a finishing touch, consider adding shredded coconut or a light sprinkle of salt.

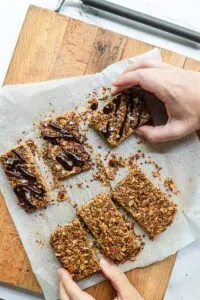
- After drizzling, slice again to ensure clean cut bars. Store your granola bars in a sealed container in the fridge or freezer to maintain their freshness.

Video
Notes
- For an on-the-go treat, individually wrap the bars in parchment paper or plastic wrap.
- Use certified gluten-free oats to make these bars gluten-free.
- Feel free to adjust the sweetness to your liking by varying the amount of honey or agave. Add a little more for sweeter bars or reduce it for a milder sweetness.
- If you’re making these for kids, consider using silicone molds or cookie cutters to shape the bars into fun shapes. Top them with sprinkles for added fun.
Nutrition
Calories: 17kcalCarbohydrates: 3gProtein: 1gFat: 0.3gSaturated Fat: 0.1gPolyunsaturated Fat: 0.1gMonounsaturated Fat: 0.1gSodium: 0.3mgPotassium: 16mgFiber: 0.5gSugar: 0.04gCalcium: 2mgIron: 0.2mg
Tried this recipe?Let us know how it was!
Storage


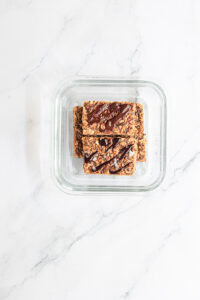
- To keep your homemade granola bars fresh, store them in a covered container or an airtight resealable bag.
- For short-term storage, place them in the refrigerator, where they’ll stay good for up to 2 weeks. Individual wrapping in parchment paper or plastic wrap can help keep them from sticking together.
- If you want to prolong their shelf life, freeze them. Wrap each bar tightly in plastic wrap or foil, then place them in a freezer-safe bag or container. They can be stored in the freezer for up to 3 months.
- If you’re taking these bars on a hike or picnic and plan to consume them within a day, it’s okay to keep them at room temperature. However, for longer storage, it’s best to refrigerate or freeze them to maintain their freshness.
Variations
- Customize your granola bars by adding dried fruits like cranberries or apricots for a fruity twist.
- For a nut-free version, swap almonds for pumpkin or sunflower seeds.
Top Tips

- Press down firmly when spreading the mixture in the pan to ensure the bars hold together well.
- If you prefer a firmer texture, refrigerate the bars for a few hours before cutting them into rectangles.
- These homemade granola bars are the perfect thing to take on your road trip as a breakfast option. If you are taking a cooler with you then consider prepping these berry yogurt parfaits or my delicious chocolate peanut butter overnight oats!