


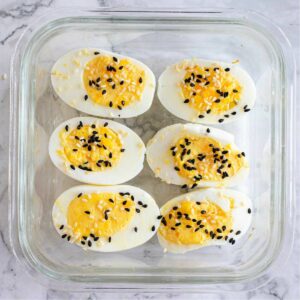
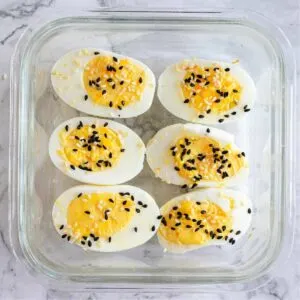
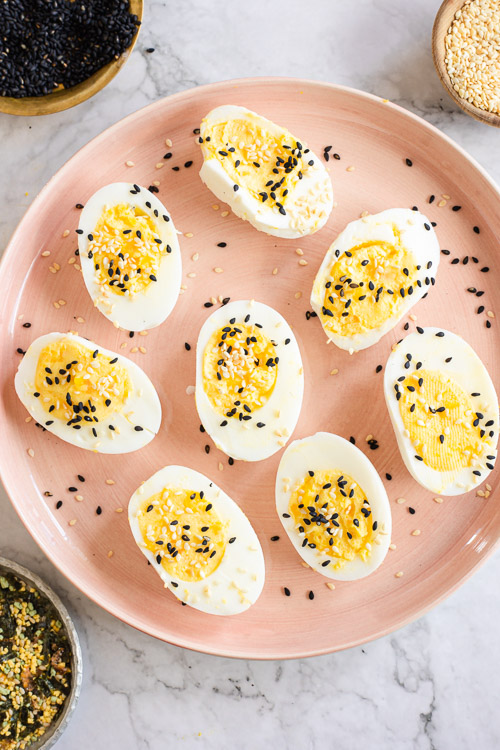
This Japanese deviled eggs recipe combines sweet kewpie mayo with rice vinegar and a sprinkle of black and white sesame seeds for a kid-friendly road trip snack that is sweet, salty, creamy, and packed with umami.
Are you planning a fun-filled trip with your family? An essential element of a successful journey is a selection of delicious and convenient road trip snacks. Forget the usual snacks and surprise your kids with a delightful twist – Japanese deviled eggs!
These child-friendly devilled eggs are not only visually appealing but also packed with flavors that will satisfy everyone’s taste buds. In this blog post, we will guide you through a simple yet scrumptious recipe for Japanese Devilled Eggs, the perfect accompaniment to one of our road trip sandwiches as part of your road trip food plan.


Japanese Deviled Eggs
Recipe Author
Equipment
- Saucepan
- Knife
- Bowl
- Food processor (optional)
- Piping bag or spoon
- Airtight storage container
Ingredients
- 4 large eggs
- 2 ½ tablespoons Kewpie mayonnaise
- ¼ teaspoon salt
- ¼ teaspoon pepper
- 1 ¼ teaspoon rice vinegar
- Black and white sesame seeds (optional, for garnish)
Instructions
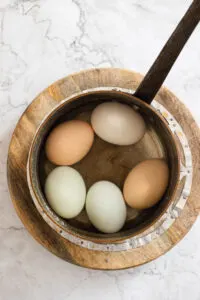
- Hard-boil the eggs for 10-12 minutes. Place eggs into an ice bath for 5 minutes to cool completely.

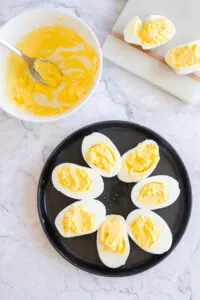
- Crack and peel the eggs, then slice them in half lengthwise.


- Gently remove the yolks and mash them with mayonnaise, salt, pepper, and vinegar. You can also use a food processor and process until smooth for a creamier texture.


- Fill the egg white halves with the yolk mixture using a piping bag or spoon, creating a small mound.

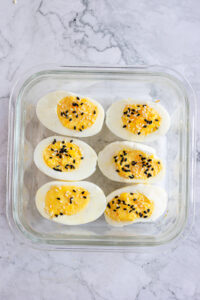
- Optional: Sprinkle black and white sesame seeds over the deviled eggs for garnish. Serve immediately or store in an airtight container in the refrigerator or cooler for 2-3 days.

Video
Notes
- To make the eggs easier to peel, use eggs that are a few days old rather than fresh ones.
- Gently tapping the eggs on a hard surface before peeling helps to create cracks, making the shells easier to remove.
- If you want a smoother filling, use a food processor or blender to process the yolks.
- Use a piping bag to pipe the filling back into the eggs for a smoother, more elegant presentation.
Nutrition
Storage

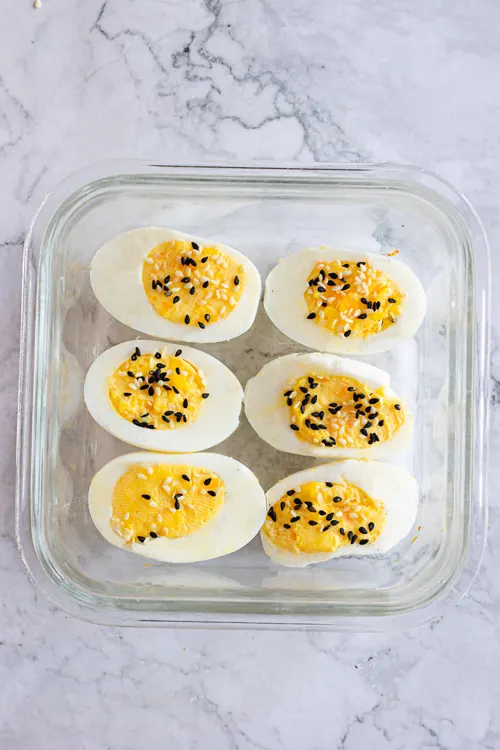
To keep your Japanese deviled Eggs fresh during your road trip, storing them in an airtight container in a cooler or insulated bag with ice packs is best. Properly refrigerated, the deviled eggs can last 2-3 days. However, for optimal taste and freshness, consuming them within 24 hours is recommended.
Variations

While the traditional Japanese deviled Eggs are already delicious, you can experiment with various ingredients to add your creative twist. Here are a few variations to consider:
- Wasabi-deviled Eggs: Add a teaspoon of wasabi paste to the yolk mixture for a spicy kick.
- Soy-Glazed Deviled Eggs: Drizzle a little soy sauce and a couple of drops of sesame oil over the deviled eggs before serving for a savory twist.
- Seaweed Deviled Eggs: Garnish the eggs with furikake, crumbled seaweed, or nori sheets to infuse them with a delightful umami flavor.
- A touch of Miso: We sometimes like adding 1 tsp of white miso paste to the deviled egg filling.
Top Tips


- To make the eggs easier to peel, use eggs that are a few days old rather than fresh ones.
- Gently tapping the eggs on a hard surface before peeling helps to create cracks, making the shells easier to remove.
- If you want a smoother filling, use a food processor or blender to process the yolks.
- Use a piping bag to pipe the filling back into the eggs for a smoother, more elegant presentation.
FAQs


Can I make Japanese deviled Eggs ahead of time?
You can hard-boil the eggs and prepare the yolk mixture in advance. Keep the eggs and yolk mixture separately in the refrigerator. Assemble deviled eggs before your road trip.
Can I use other types of vinegar instead of rice vinegar?
Rice vinegar adds a mild and slightly sweet flavor to the deviled eggs, complementing the Japanese-inspired taste. However, you can substitute rice vinegar with apple cider or white vinegar.
Can I substitute the Kewpie mayonnaise with anything else?
To lighten this snack, substitute the mayo in this deviled egg recipe with Greek yogurt. You can also use regular mayonnaise. The flavor will change substantially. If replacing Kewpie mayonnaise with regular mayo or Greek yogurt, we recommend adding half a teaspoon of sugar.